
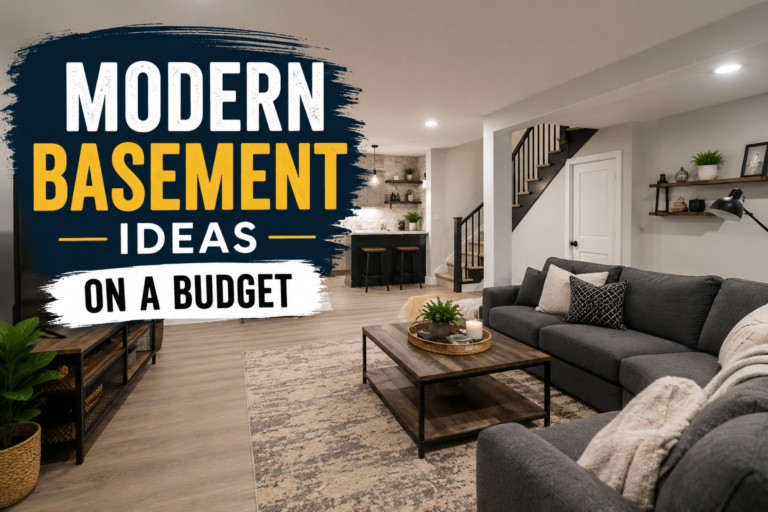
Unfinished Basement Ideas on a Budget
An unfinished basement has a bad reputation. Cold concrete floor, exposed joists, a furnace humming in the corner, maybe a water stain nobody’s investigated too closely. It’s easy to write the whole space off as storage for holiday decorations and forgotten exercise equipment. But you don’t need a full renovation with drywall, permits, and a five-figure budget to turn that space into somewhere you actually want to spend time. A lot of the most livable basements out there were never “finished” in the traditional sense — they were just thought through.
Here’s how to get real use out of an unfinished basement without draining your savings account.
Start With the Floor
Bare concrete is the single biggest thing making a basement feel unfinished, and it’s also one of the cheapest problems to solve. You don’t need to pour a new slab or hire someone to install hardwood.
Interlocking foam or rubber tiles are the easiest entry point. They snap together like puzzle pieces, require no adhesive, and you can lay a few hundred square feet in an afternoon. They’re soft underfoot, which matters a lot if this is going to be a playroom, home gym, or somewhere kids will be sitting on the floor. If you ever move or change your mind, you just pick them back up.
Peel-and-stick vinyl planks are another solid option and they actually look like real flooring from a few feet away. The catch with basements is moisture — concrete slabs can wick up dampness even if you can’t see it, so it’s worth doing a simple test before committing. Tape a square of plastic sheeting to the floor, seal the edges, and leave it for 24 hours. If there’s condensation underneath when you peel it back, you’ve got moisture working its way through, and you’ll want a vapor barrier or moisture-resistant underlayment before laying anything down.
Large area rugs are the no-installation option. Buy a remnant or a clearance rug, throw it over a section of the floor, and you’ve instantly warmed up that part of the room. Layer two rugs if you want extra cushioning — a cheap jute or basic rug on the bottom, something softer on top.
Whatever you choose, don’t feel like you need to cover the entire floor at once. Do the seating area first. Expand later if the budget allows.
Deal With the Ceiling Without Hiding It
Exposed joists and ductwork are usually the first thing people want to cover up, but full drywall ceilings are expensive and they hide access to wiring and plumbing you might need later. A cheaper move is to lean into the exposed look on purpose rather than fighting it.
A coat of flat black or dark charcoal spray paint across the joists, pipes, and ductwork makes everything visually recede. It sounds counterintuitive — paint the ugly stuff black instead of covering it — but it works. The eye stops registering individual pipes and beams and just sees “ceiling,” the same trick a lot of restaurants and coffee shops use in industrial-style buildouts. A few cans of paint and a weekend is a fraction of the cost of a drop ceiling or drywall.
If you want more coverage, string lights or basic clip-on shop lights run between the joists add warmth without any construction at all.
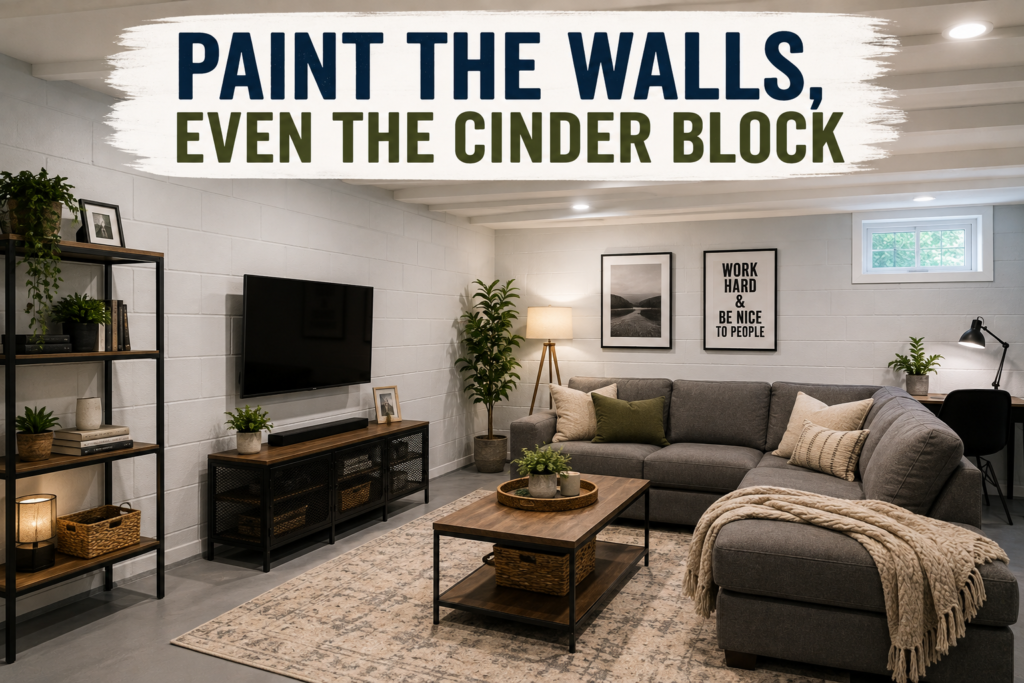
Paint the Walls, Even the Cinder Block
Bare concrete or cinder block walls read as “unfinished” almost more than anything else in the room. Painting them is one of the highest-impact, lowest-cost changes you can make.
Use a masonry primer first — it’s formulated to grip concrete and block moisture from seeping through, which matters more in a basement than anywhere else in the house. After that, any interior paint works. Lighter colors (soft white, warm gray, pale sage) bounce around what little natural light basements usually get. If the space doesn’t get any natural light at all, a warm off-white will do more for the room than a trendy dark color will, no matter how good that dark color looks on a paint chip.
If block walls have visible mortar lines and texture you don’t love, a limewash or mineral paint gives an intentional, almost Mediterranean plaster look instead of just “painted basement wall.” It costs more than a basic can of paint but still costs far less than actually finishing the walls with drywall.
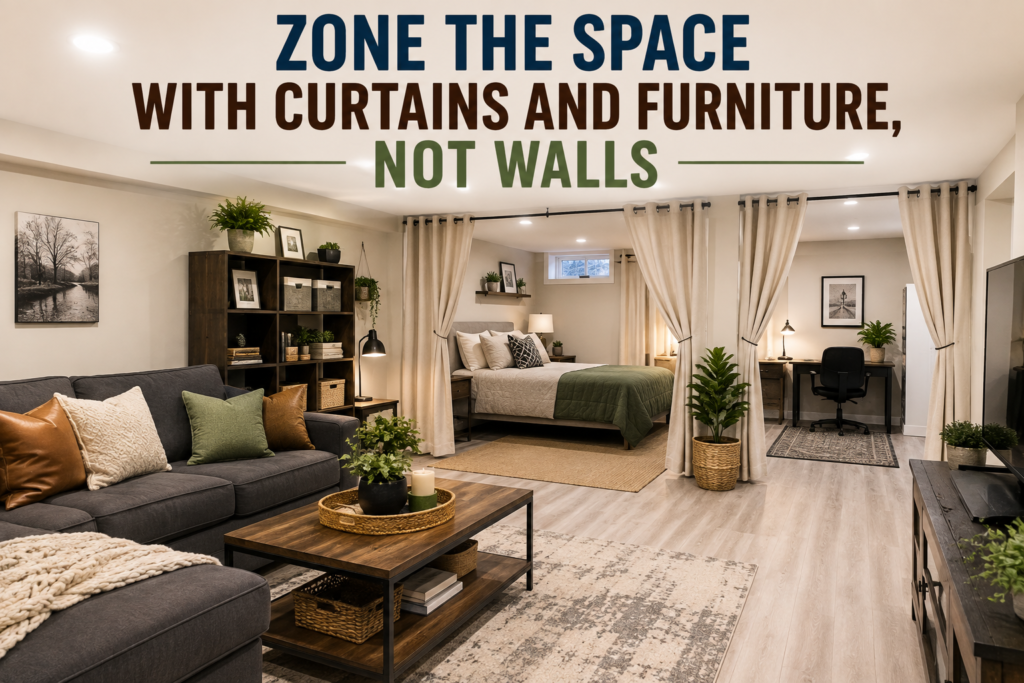
Zone the Space With Curtains and Furniture, Not Walls
Basements are often one big open room, which is actually an advantage if you use it right. Instead of framing and drywalling to create separate rooms, use soft dividers.
Heavy curtains hung from ceiling-mounted tracks or simple tension rods can split a basement into a media area, a guest sleeping nook, and a storage zone without a single stud going up. They’re cheap, they’re fully reversible, and they add texture and sound absorption to a room that otherwise echoes because of all the hard surfaces.
Bookshelves and open shelving units do double duty as room dividers and storage. Set a shelf back-to-back with the seating area and you’ve created a visual boundary between the lounge space and, say, a laundry or workshop zone, while also gaining storage you didn’t have before.
Furniture placement alone does a lot of this work too. A couch angled away from a doorway signals “this is the living area” even in a completely open room, no construction required.
Lighting Makes or Breaks the Feel
Basements usually have one thing going against them: a single overhead fixture in the middle of the ceiling, harsh and flat. Fixing lighting is inexpensive and it changes how the whole room feels more than almost anything else on this list.
Floor lamps and table lamps in warm white bulbs (look for 2700K–3000K on the packaging) immediately soften a space that fluorescent or bare bulbs make feel clinical. Layer two or three lamps around the room instead of relying on the one overhead light.
Plug-in wall sconces are an underused option for basements specifically because they don’t require any wiring — they just need an outlet, and most basements already have outlets along the walls for the reason you’d expect. They add light at eye level, which does a lot to make a room feel finished even when the ceiling above it isn’t.
If the ceiling joists are exposed, track lighting or basic puck lights can be surface-mounted directly to the underside of the floor joists above. No drywall needed, and it puts light exactly where you need it.
Address Moisture and Comfort Before Anything Else
Before spending money on furniture and decor, it’s worth putting a small amount toward a dehumidifier if the basement has any dampness at all. A mid-size unit isn’t expensive, and unlike almost everything else on this list, it protects the investment you’re about to make. Damp air will ruin rugs, warp cheap furniture, and encourage mold on anything porous. Running a dehumidifier a few hours a day, or on a humidistat setting that only kicks on above a certain humidity level, is one of the best money-to-impact ratios in the entire basement project.
If the basement is genuinely cold, a small space heater rated for the square footage you’re using goes a long way, especially if you’re only heating the portion of the room you’re actually using rather than the whole open floor.
Furniture: Buy Secondhand and Don’t Overthink It
Basement furniture takes more abuse than furniture anywhere else in the house — temperature swings, occasional dampness, kids, pets, the general “this is the basement” mentality that makes people less careful. That’s actually freeing. This is the room where secondhand furniture makes the most sense.
Facebook Marketplace, thrift stores, and estate sales are full of couches and armchairs that are perfectly good but don’t match someone’s new living room. A basement doesn’t need furniture that matches; it needs furniture that’s comfortable and durable. Look for stain-resistant or dark-colored upholstery, since basements see more spills and dust.
Old dressers or sideboards found secondhand make great low-cost storage and can double as a media console or a bar cart area. A coat of paint pulls together mismatched pieces if you want a slightly more cohesive look without buying anything new.
Small Details That Punch Above Their Cost
A few finishing touches make a bigger difference than their price tag suggests:
- Removable wallpaper or peel-and-stick panels on one accent wall (like a stair wall or the wall behind a couch) adds personality without the commitment or cost of paneling the whole room.
- Plants, even fake ones if the basement gets no light, soften all the hard surfaces that are unavoidable in a basement — concrete floor, block walls, metal support poles.
- A large mirror leaning against a wall bounces light around and makes the room feel taller than the low basement ceiling actually allows.
- Painted support poles. Structural poles are almost always down there whether you like it or not. Wrapping them in rope, painting them a bold color, or covering them with adhesive wood-look film turns an eyesore into a design choice instead of just accepting them as ugly and unavoidable.
Keep the Budget in Perspective
None of this needs to happen all at once, and it doesn’t need to happen in the order listed here either. A lot of people start with paint and lighting because those two changes alone transform how a basement feels for under a few hundred dollars total. Flooring can come later once you know how you’re actually using the space. Furniture can be picked up over months as good secondhand pieces turn up.
The real trick with an unfinished basement is treating “unfinished” as a style rather than a problem to be hidden. Exposed joists, painted block walls, and a few good rugs read as intentional, almost like a converted loft, rather than like a room someone ran out of money to finish. Done well, it ends up being one of the more interesting rooms in the house — and it cost a fraction of what a full renovation would have.

I’m Grayson Watson, your frugal companion and the brain behind this money-saving extravaganza. Strap yourself in, because we’re about to embark on a wallet-friendly adventure like no other. Learn More!